Adding Mesh Inserts
In this section:
Preparation
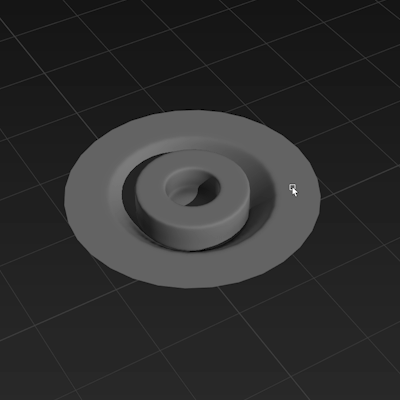
Create a model that you would like to use as a Mesh Insert.
From here you can add it from scene or add it from Kitbox
Adding From Scene
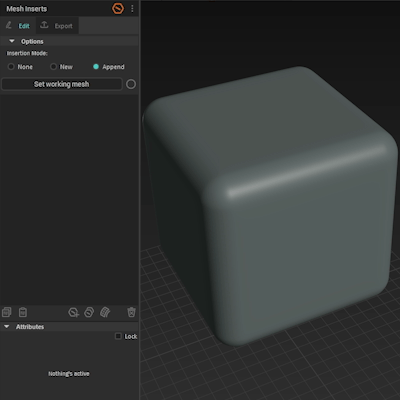
Select a mesh that you would like the insert to be added to and click Set Working Mesh button.
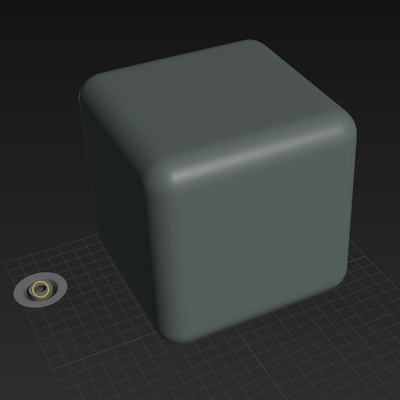
Now select your pre-made MI and place it roughly on the surface using Placer Tool.
Finally, click on Add Mesh Insert button in the actions bar.
💡 You can do this with multiple MIs by selecting all their border edges.
Adding From Kitbox
Select the edges of your pre-made MI mesh.
Select a folder in Kitbox.
Go to Export tab and click Export Mesh Insert.
Learn more about exporting MIs.
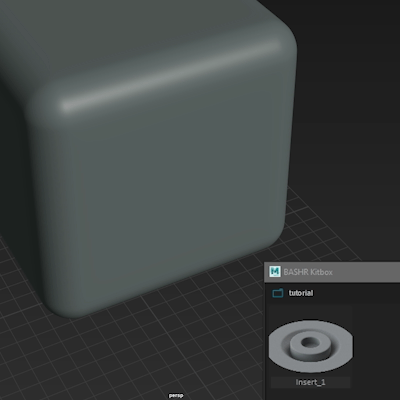
Select your newly exported MI, and simply click on any mesh in the scene to place it.
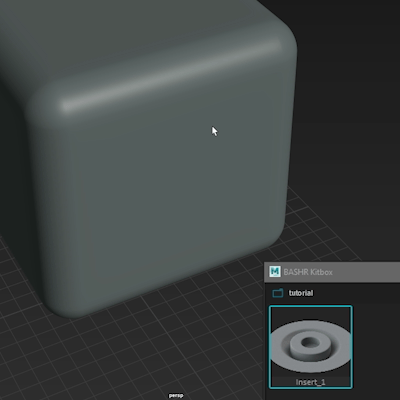
Alternatively, select face islands on your working mesh and double-click on your exported MI.